My home built arcade cabinet
My ‘Covid’ project, that everyone seems to have had.
Intro
Like everyone else, an abundance of free time when lock down kicked in had me dusting off my old projects, one of the ones that was on the back burner for the longest was my arcade cabinet. Anyone who knows me knows I’m obsessed with bookmarks. I’ve had a folder for every project for as long as i can remember, and the ‘Arcade Cabinet’ has been sat there for 3 years now, it was high time i just did it.
Getting started
I began pre-covid, where i’d ordered a basic arcade kit off amazon, they aren’t the best, going with a name brand joystick + buttons is obviously the right choice, but as you’ll see as we go, I’m a bit cheap!
I jammed the kit into my old printer box, launched up some old school games and hey presto

Setting up the PC
As I’m more of a computer guy than a woodworker, I wanted to make sure I was able to set up a PC to meet the needs of the arcade, before I got to the expensive bit of buying the actual cabinet.
Sourcing the computer
I sourced a great deal on a used PC from gumtree (craigslist type site for those not from UK). I ended up with:
- Nvidia GT 630
- Intel i3-3240
- 8GB DDR3 RAM
It’s nothing to write home about, but more than enough for emulation and runs clone hero easily at 60fps, a great deal at 40 quid, I was torn initially between a pi4 and a hack job PC like this, but using a pc gives the advantage of easily expanding storage with old drives, running windows games and more familiar control of the computer.
Software & Emulator
I did some googling about software to use, I settled on bigbox/launchbox, it seemed the most user friendly, I hadn’t done a ton with emulation in the past, but it gave a fancy UI I could swap out with new themes and basically worked out the box. I just bought a regular license for this, sot hat was 30$ for 1 year of updates + 15$ renewal if you want to keep it going (but it’ll work fine without updates), this worked for me as I didn’t see the point in the cabinet having internet access, so i wasn’t too fussed about updates.
I used mame for emulation, as from reading the reddit I got the impression that its worth investing the time into the more old-school mame setup then going with a wrap all solution like retro arch, but i’m sure either works! I also had no real desire to emulate anything that wasn’t a cabinet game anyway.
Other pc parts
I was now happy with the software side, so I began ordering parts with mixed success:
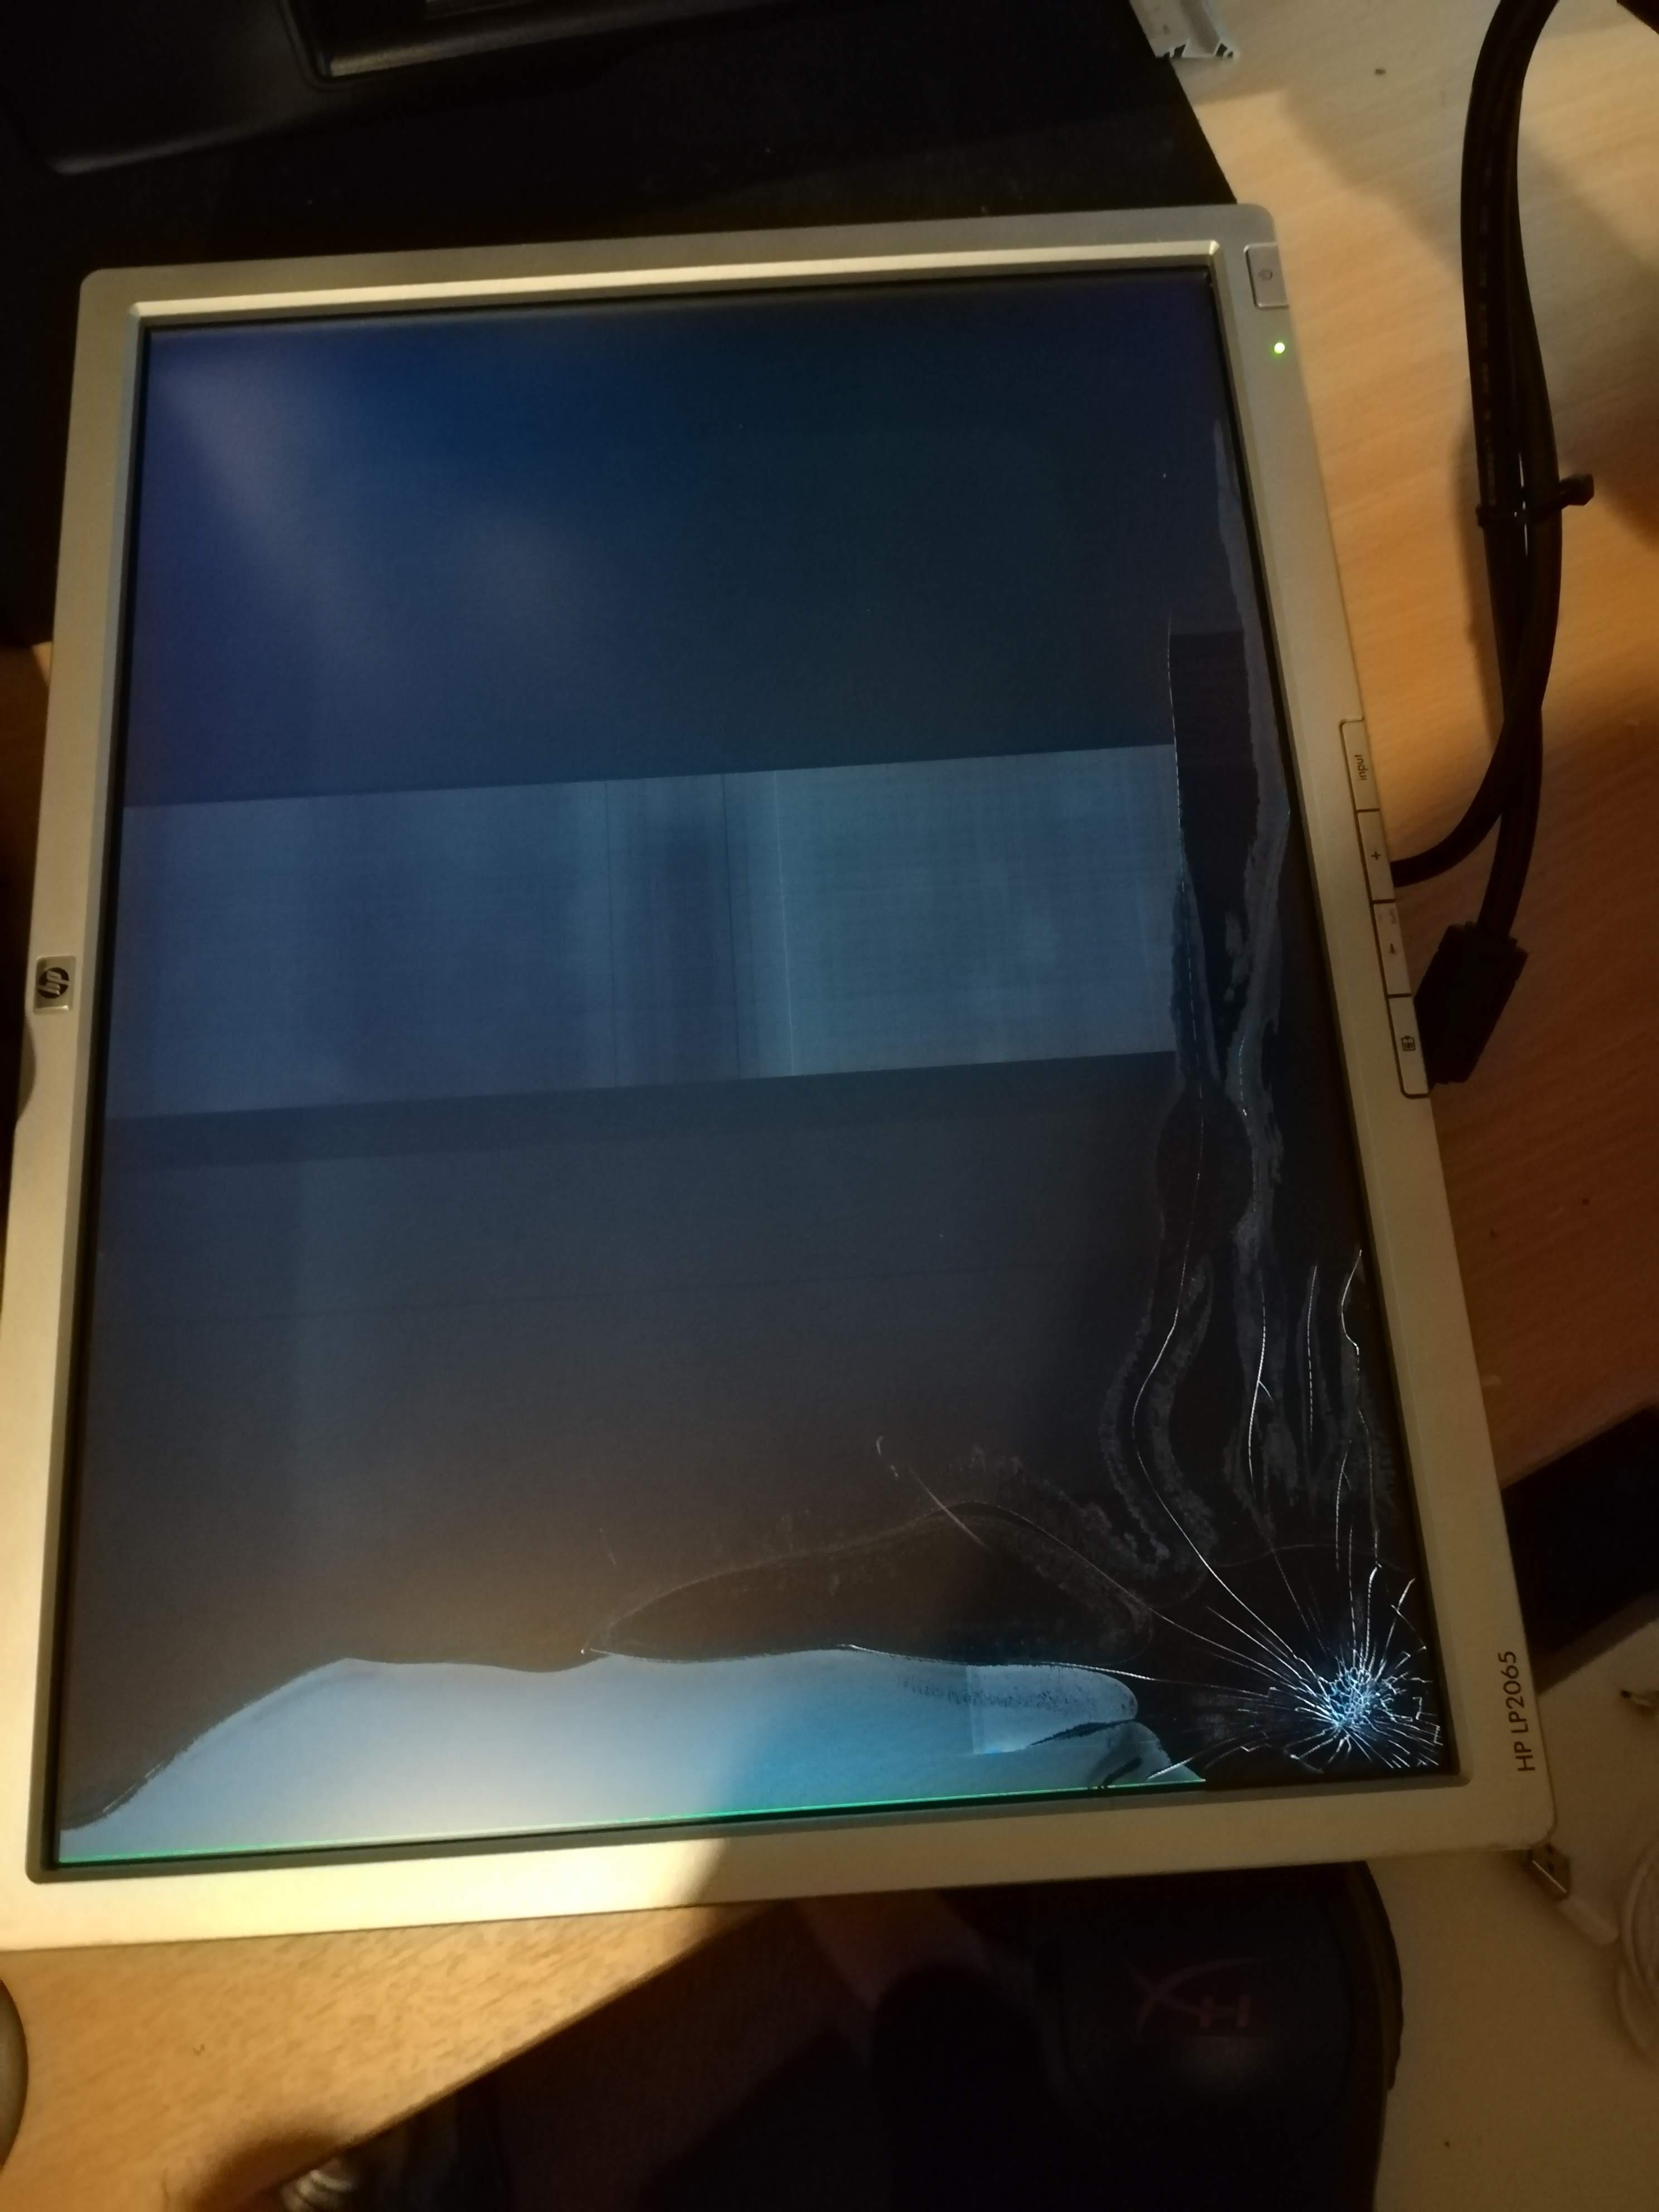
It did get replaced in the end and the monitor I went with was a cheap and cheerful HP L 2065, 20, which I got for just £20.00 missing the stand.
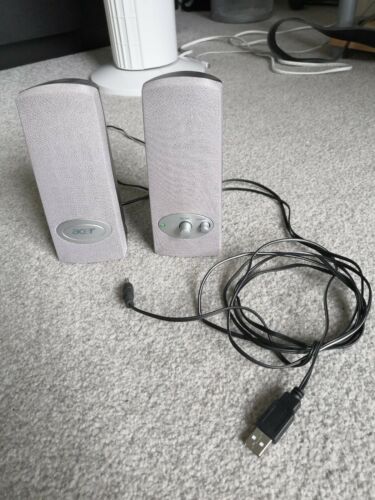
I used old hard drives I had laying around for the pc, as well as old keyboard and mice. So nothing new to purchase there. The last purchase was a set of desktop speakers, some very basic Acer USB Powered PC Speakers, as described by the listing, for just £4.00, I did initially plant to wire up arcade speakers, but by the time I got to costing up the low end of arcade speakers, it still came out to £30+, So I figured for 4 quid, give these speakers a go and they hold up surprisingly well.
The arcade flatpack
The woodworking side of things was always a bit of a cliff edge to me, I didn’t know where to start, the initial plan was to have a friend who knows about it come build it at my house, but costing up the wood from local hardware + his time + likely few extra tools we’d need I ended up going with a flat pack
BitCade
There wasn’t much floating around about flat pack recommendations on reddit, so I took to a bit of googling I stumbled on bitcade, they seem to be a small self run company. The product itself was perfect for what I wanted, was really happy with how it looked, and helped make my cabinet have a bit more of a clean look rather than the mess of splinters it could’ve been if i’d of been involved.
Sadly it’s not all good news, I’d paid extra to have an acrylic panel over the controls, but when it arrived it didn’t match the button layout in the wood (There were two wood control panels, but only one acrylic), so that was a real shame, I did try to contact them and got no answer after months of emailing I gave up and decided to just go bare wood on the control panel surface, a shame for sure, so I’d recommend you find a different company for the flat pack, I’m sure very similar kits exist elsewhere, or at least don’t by the control panel acrylic!
Flatpack assembly
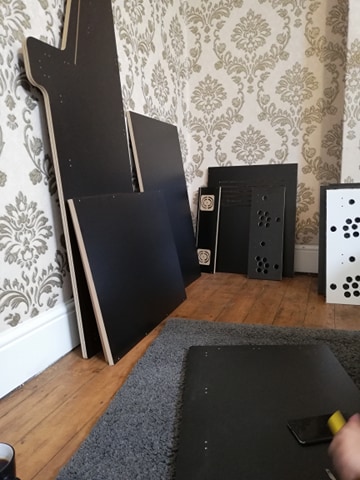
The assembly itself was super easy once we got going. It was just wood corner joints and a million screws, I ended up installing a hinge and a latch for a few quid off ebay so we wouldn’t have to unscrew the back panels everytime we wanted into the cabinet.
Jamming in the PC
The arcade buttons fitted the holes perfectly, and the vesa mount for the monitor was already pre-marked, so getting the basic proto-type all hooked up really didn’t take long from this point.
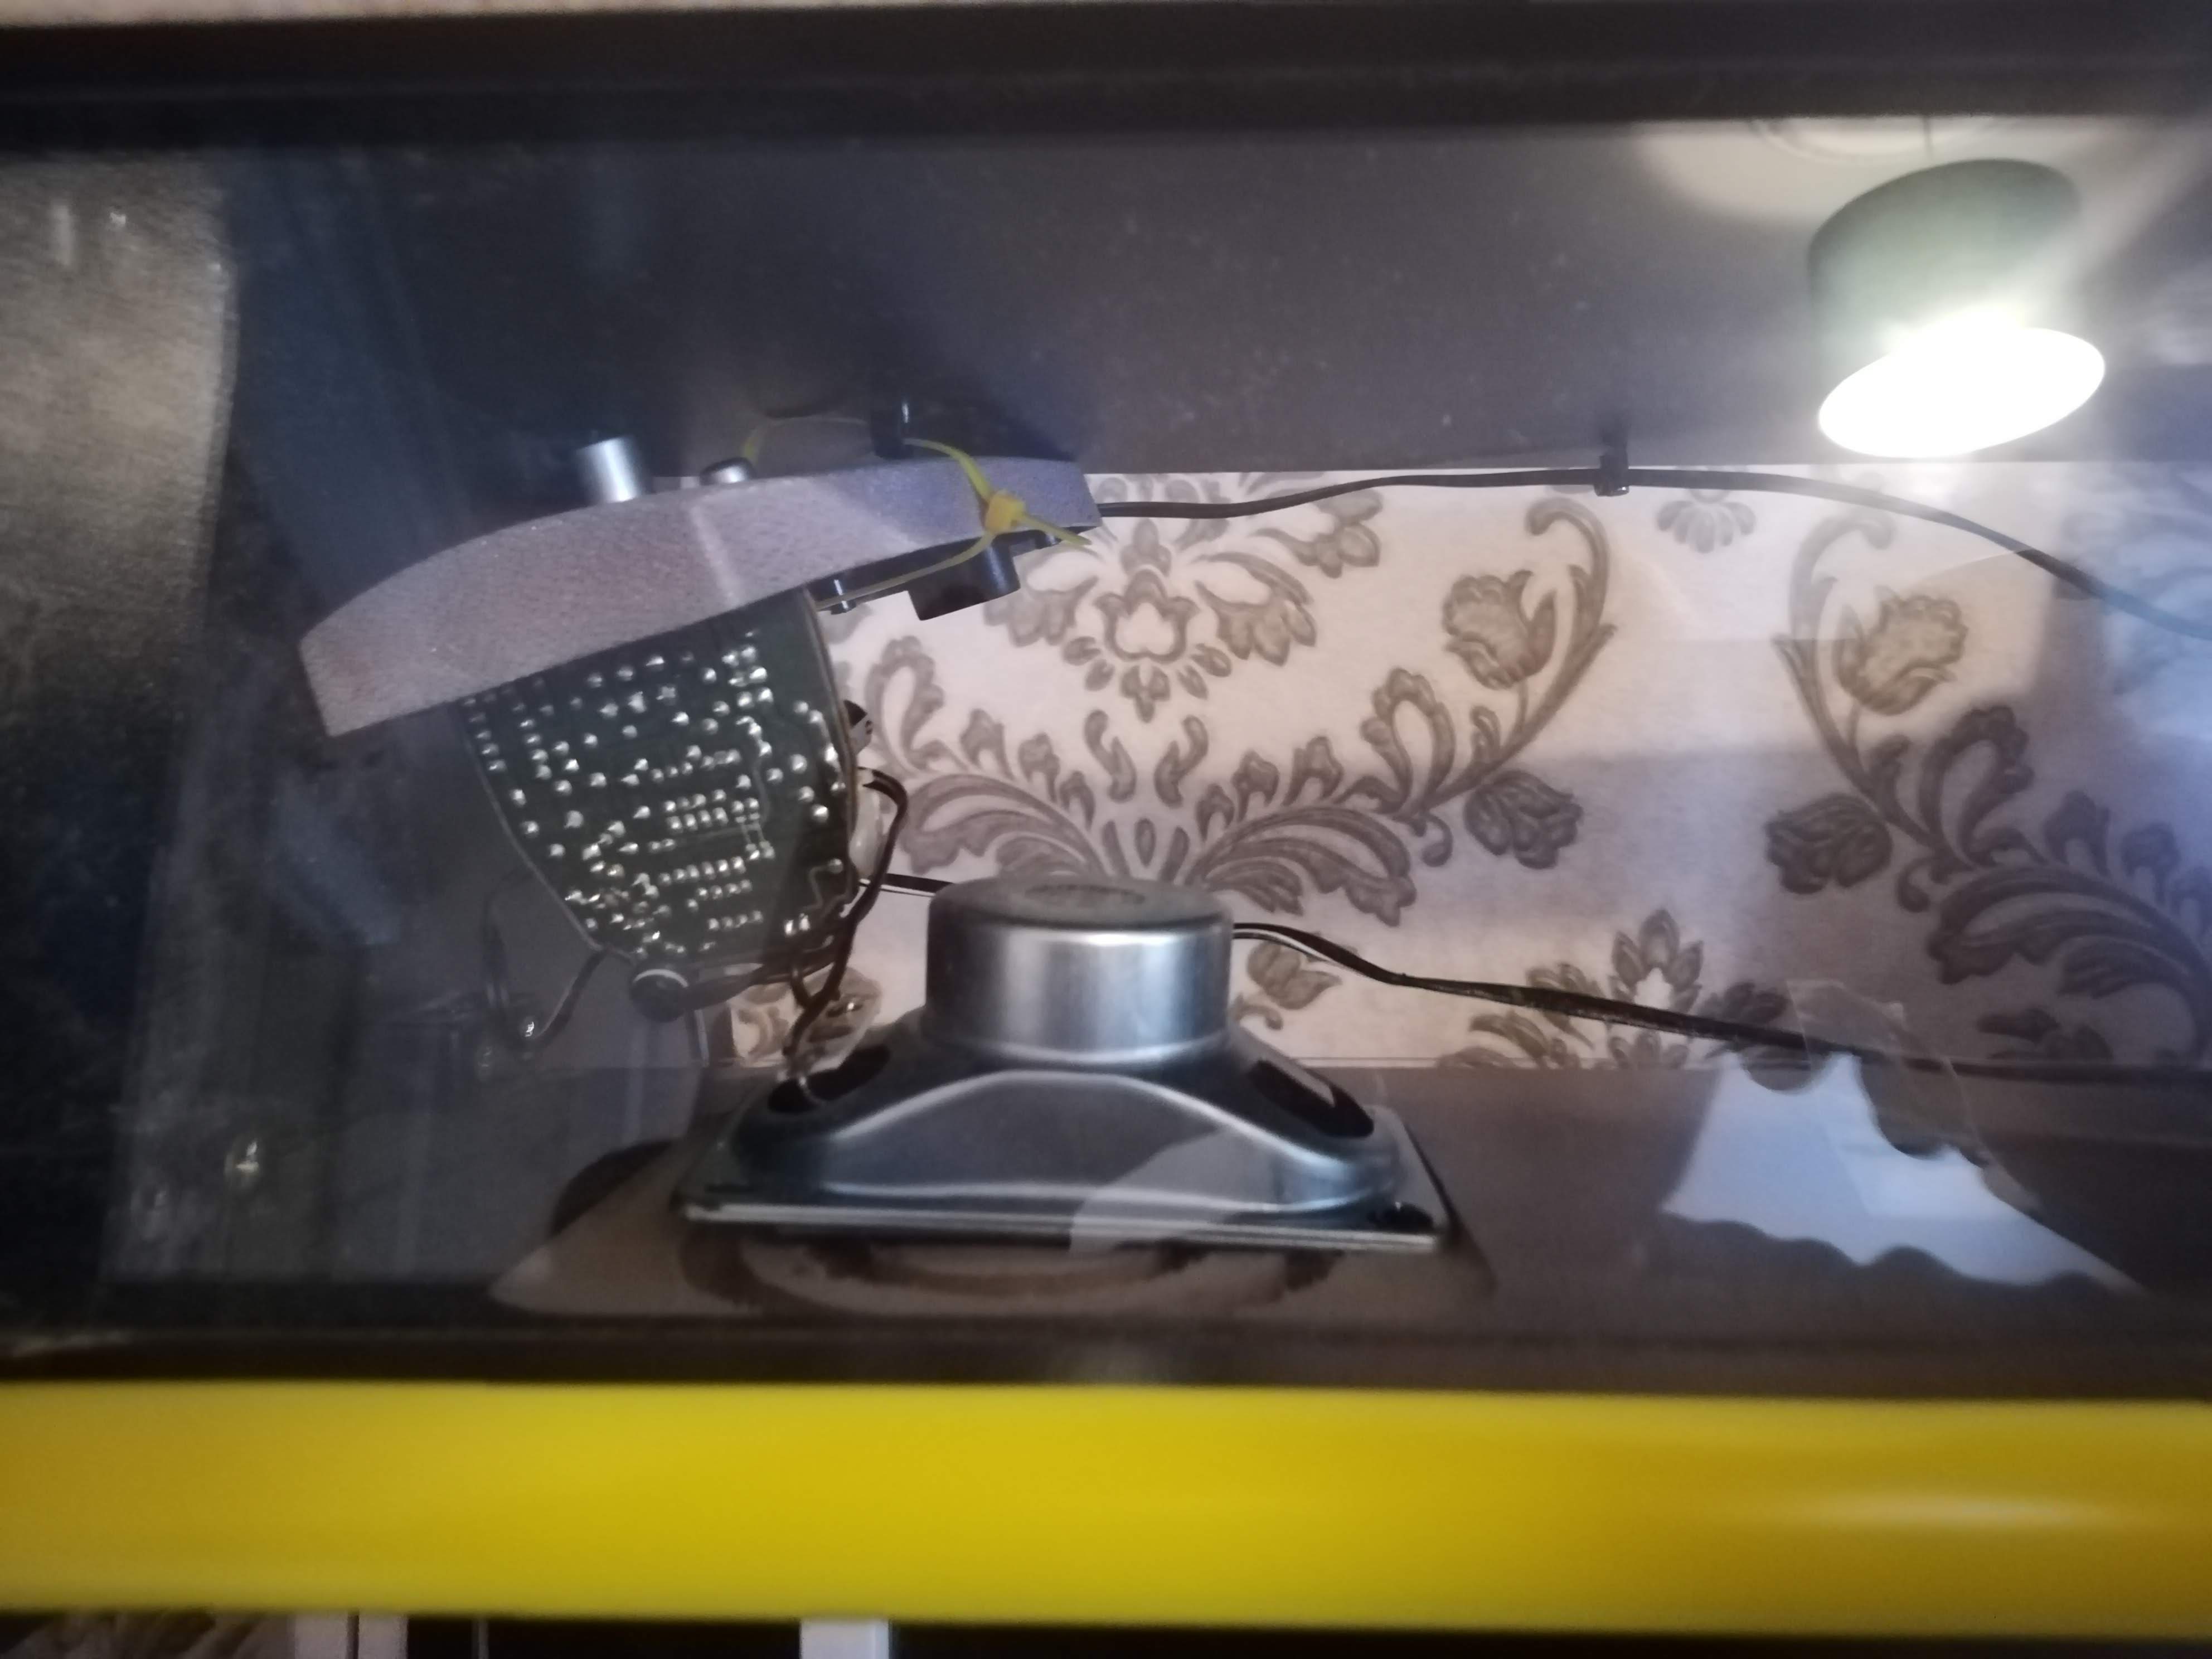
I smashed open the speaker casing and managed to mount it into the screw spaces by pure luck, was very happy with the 4 quid speakers at this point, although it doesn’t exactly fill you with confidence looking at it:
T-Moulding
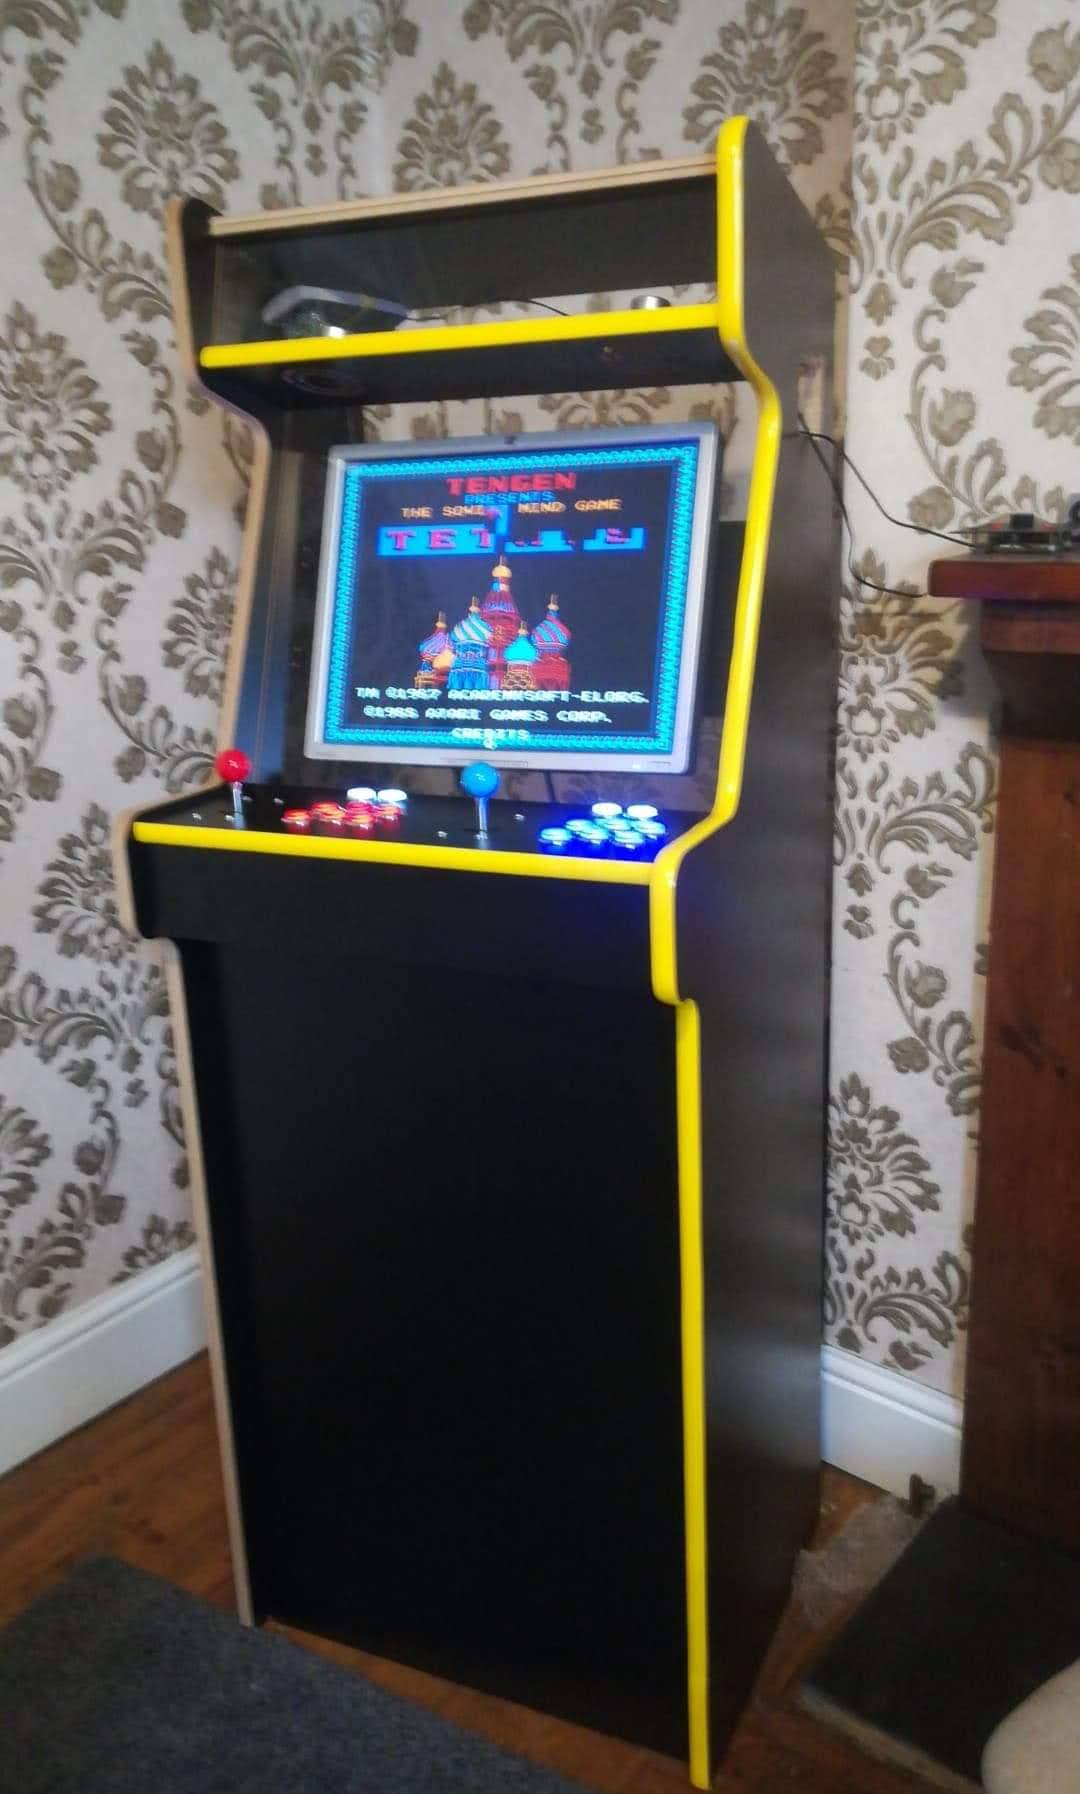
Then began the process of installing T-Moulding which took it from random scrappy wood to looking like an actual arcade cabinet, I do admit I basically stopped at this point for a month and just played on it like this :)
I ended up buying 40FT of T-Moulding, which is a bit more then they reccomend on the bitcade site, but im useless as this stuff and wanted to get it looking right! Was £18.45 per 20FT
Finishing touches
Like all projects it never really ends, so here all the final touches + some cool additions I’ve added since.
Adding the artwork
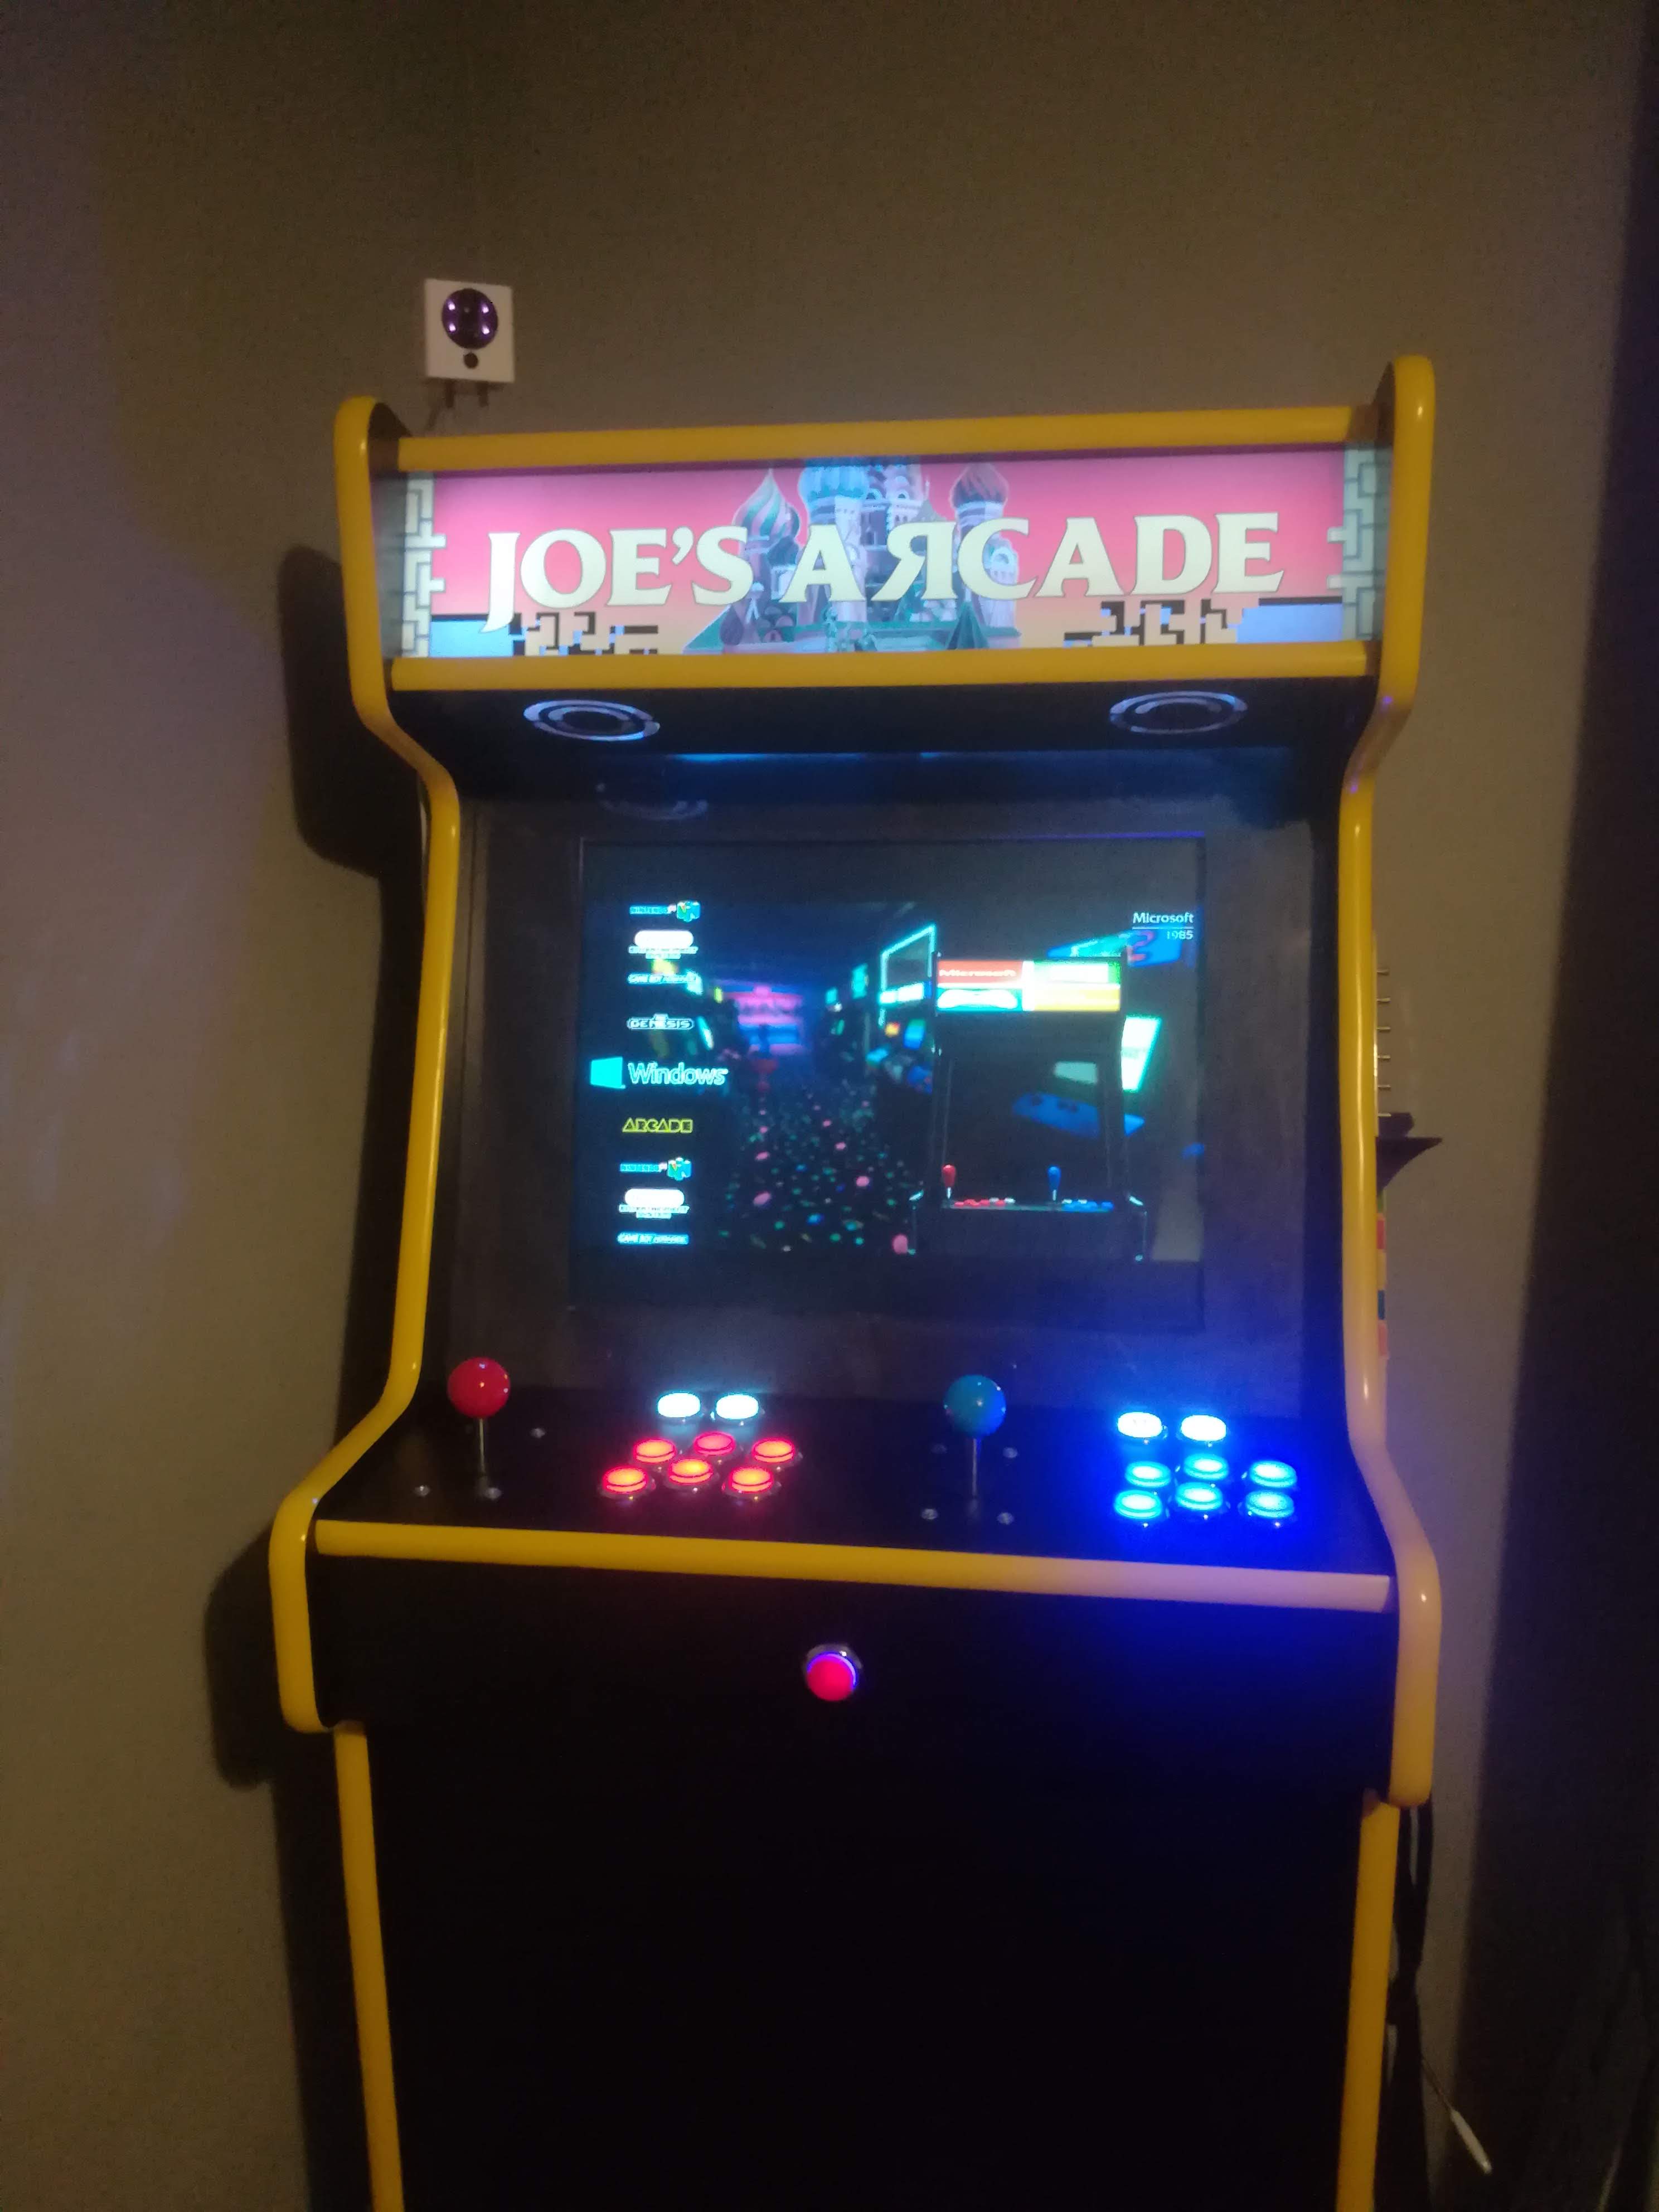
I already knew someone who was great at graphic design already, and being a fan of the original soviet style tetris, I had her design my name in that style, we spent more time tracking down the font then anything else. It came out great:

Also my girlfriend got me some LED lights to go behind the marquee for a christmas gift, so that helped give it the proper arcade look!
Adding a bezel
This is the part of the project I’m least happy with, but happy to let it slide now i’m tired of it all! I ended up just buying some black out craft paper in a big roll, cut it to shape and sellotaped it around the monitor and onto the plexi, it works, but not exactly the refined finish.
Adding a exit game button
Added one more button to the front of the cabinet to exit the game, otherwise you’d be trapped in the game. In hindsight right where you’re standing wasn’t the best place for this! So I may end up re-binding this button to do something else.
Volume control
I also added passive audio control in the form of a Nobsound Little Bear, which I had no idea was a thing but a friend showed me it, I designed a new front panel for it so I could drill some messy hole and mount it to the side of the case
I still need to add some labels to these buttons/volume, but still undecided on just buying stickers, or printing a new panel (but I’ve never done a multi material 3d print).
Guitar mount
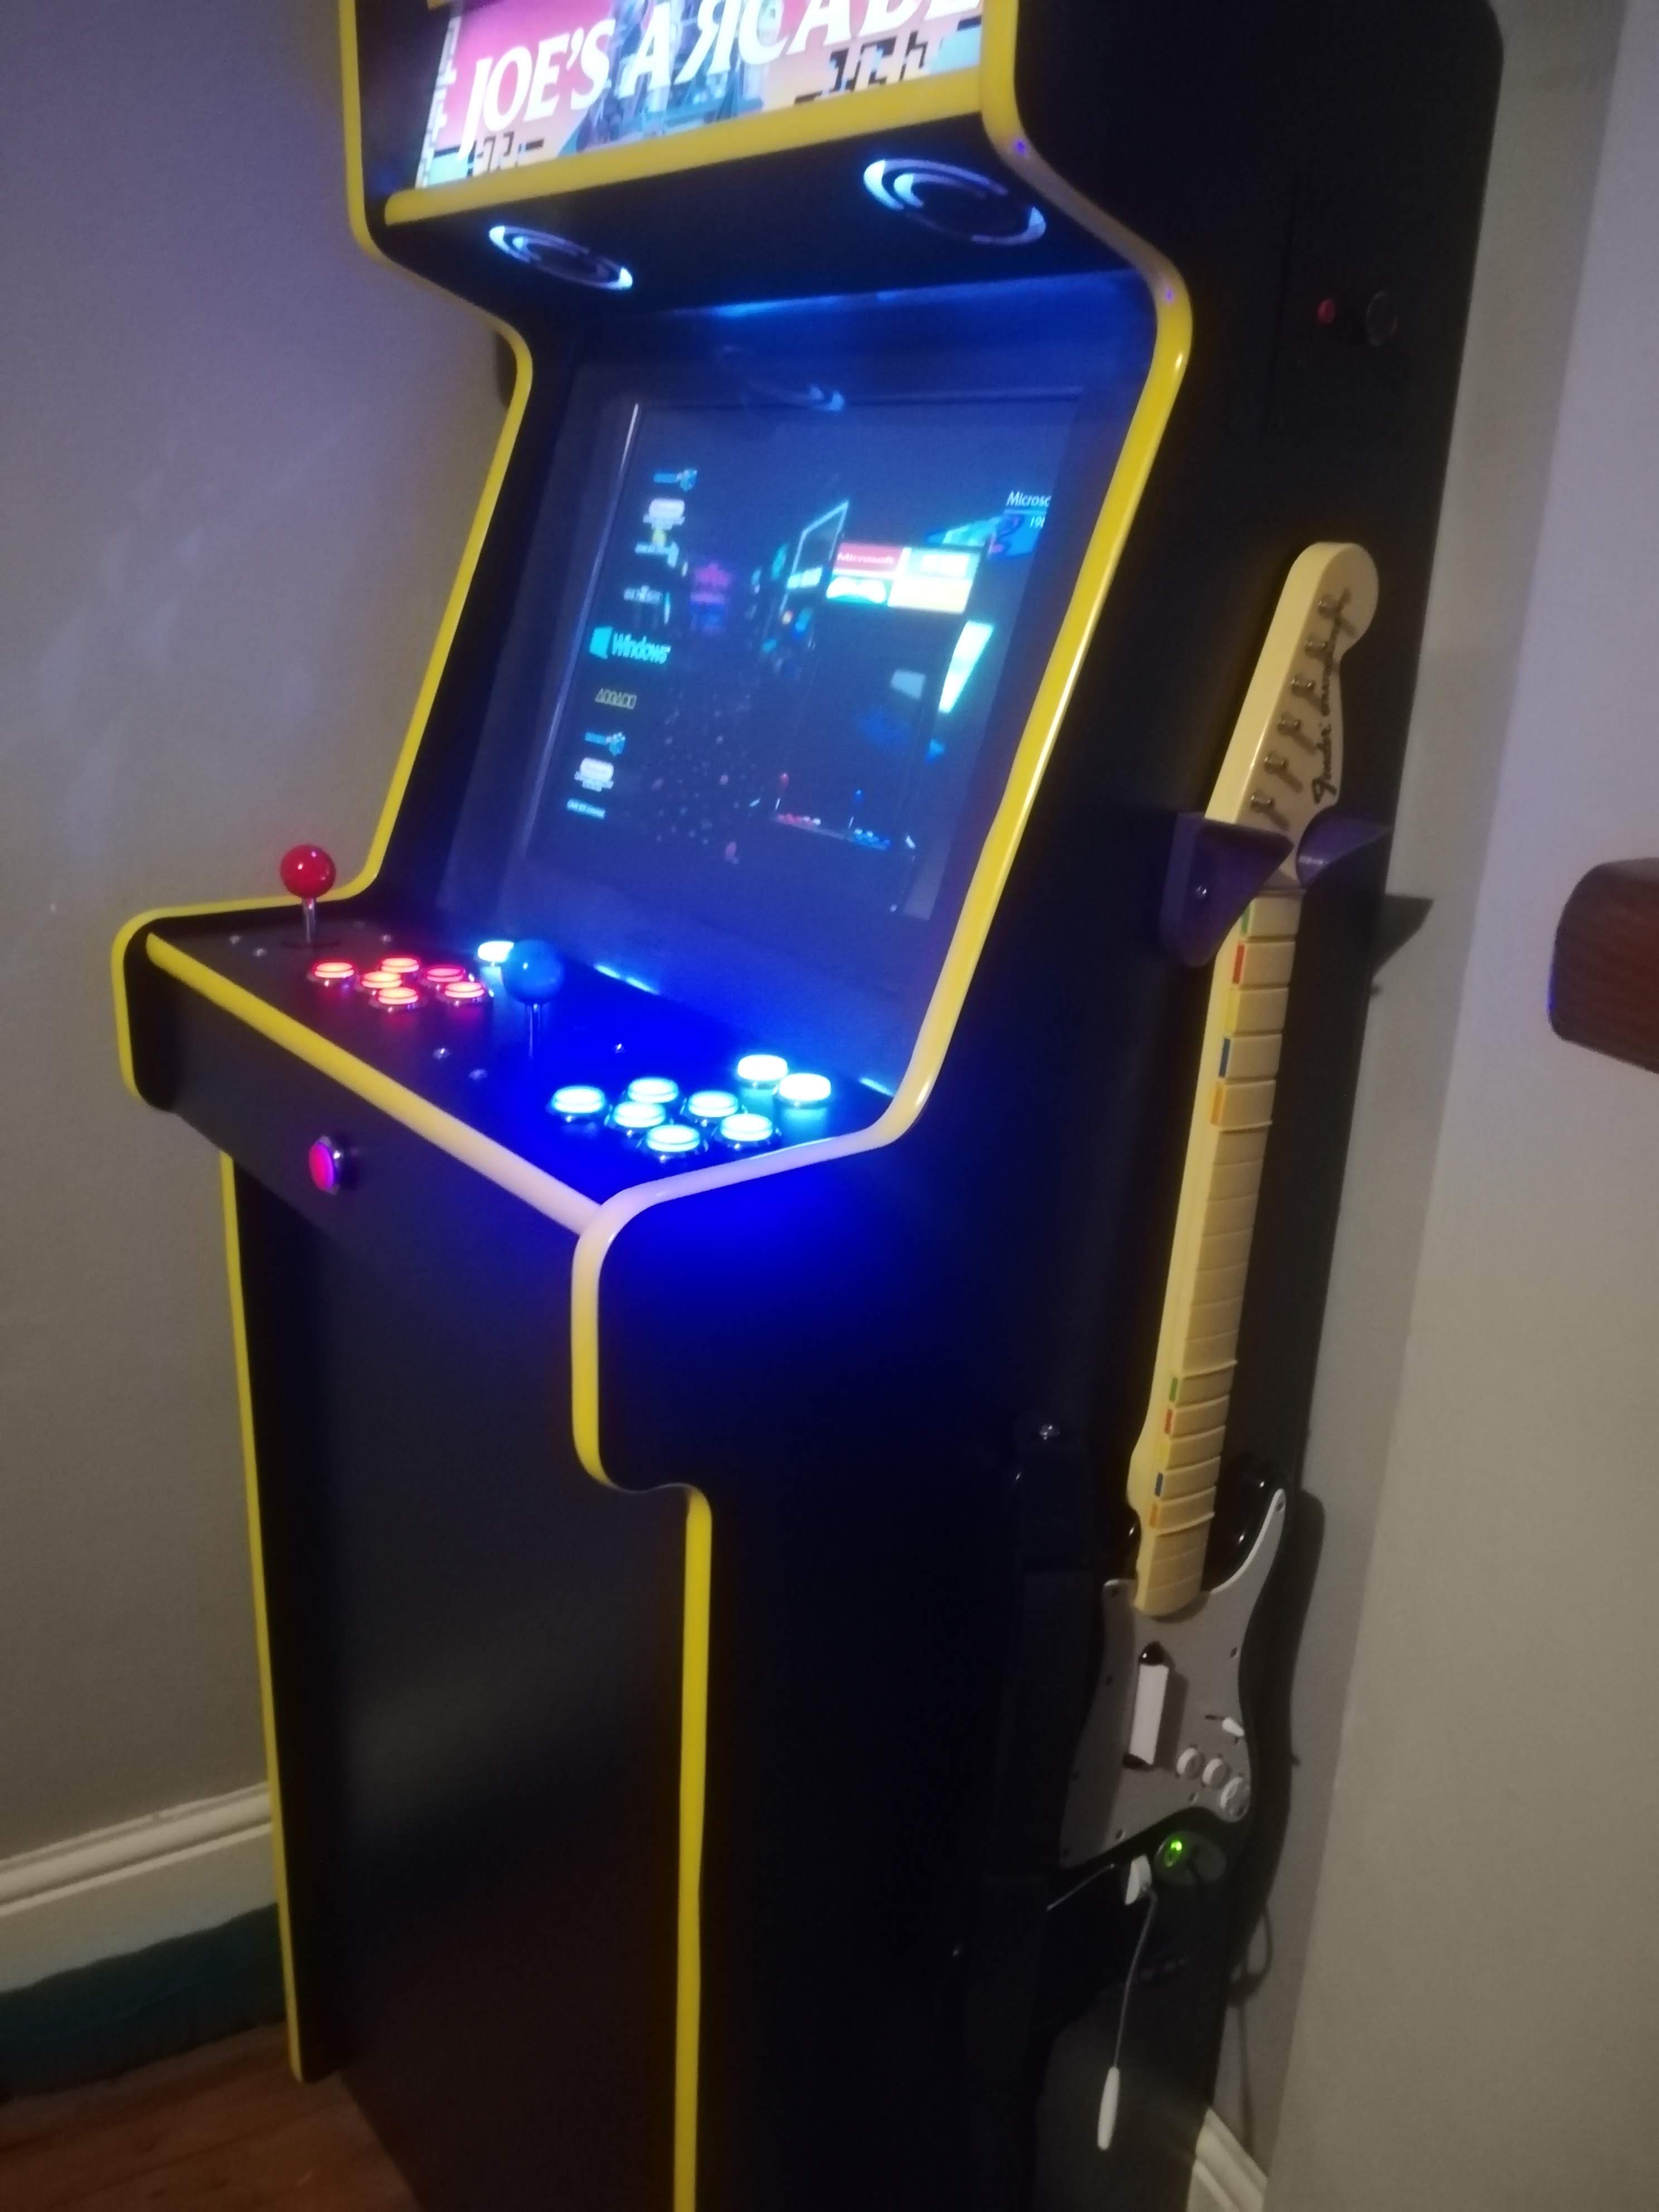
The final addition to my machine which had only been completed last week, was the ability to hang a rockband guitar on the side of the cabinet, I’m a big fan of Clone Hero (not very good at it though!), and felt it was a must for the cabinet, as it’s one of those games you can just hop in and out, as well as drawing people who may not really like the idea of old school games.
I 3d printed a pre-existing model on thingiverse and it worked a treat
The final product showcase
Enough jabbering, enjoy the final images:
Things I might add in the future
- 3D print some speaker grills to stop LEDs being to bright
Links to things
Total Costs
| Item | Cost |
|---|---|
| Nobsound Little Bear | £28.56 |
| Amazon Arcade kit | £39.99 |
| LaunchBox | £23.05 |
| T-Moulding | £36.90 |
| Cabinet Kit | £284.99 |
| Custom Artwork Designs | £75.00~ |
| Custom Artwork Printed | £14.00 |
| Speakers | £4.00 |
| Monitor | £20.00 |
| PC | £40.00 |
| LED Lights for marquee | Free |
Total Cost: £566.49